NICE DCV is a high-end remote 2D/3D desktop technology which is free to use on AWS EC2 instances. EC2 offers instances with GPUs and without. Below we explain the steps how to install and run NICE DCV on AWS EC2 using an AMI to get DCV running on Windows and Linux on the EC2 instance you have selected.
We will first look at how to get DCV on Linux running in EC2 – see below for DCV on Windows in EC2.
Table of contents
DCV on Linux in EC2
First please sign in to the AWS Management Console. The easiest way to get NICE DCV running is to use one of the AMIs (Amazon Machine Images) available in the AWS Marketplace with NICE DCV pre-installed and configured which you can find here:
- NI SP Amazon Machine Images (AMIs) with GPU 3D support and without GPU 3D acceleration running basically on every instance type. Here is partial overview of ready-made AMIs:
- Amazon Linux 2 Desktop – NICE DCV for 3D NVIDIA-GPU graphics instances
- CENTOS 8 Desktop – NICE DCV for 3D NVIDIA-GPU based graphics instances
- CENTOS 7 Desktop – NICE DCV for 3D NVIDIA-GPU based graphics instances
- Ubuntu 18 Desktop – NICE DCV for 3D AMD-GPU based graphics instances
- CENTOS 8 Desktop – NICE DCV High-End Remote Desktop (no GPU)
- CENTOS 7 Desktop – NICE DCV High-End Remote Desktop (no GPU)
- High-End Windows Desktop – NICE DCV for NVIDIA-GPU with GRID drivers
- High-End Windows Desktop – NICE DCV for AMD-GPU Performance (g4ad)
- Or choose an AMI from our full list at this page: NICE DCV AMIs from NI SP
Here you can find our AMI Usage Guides and our NI SP Linux AMI Walk Through Video – or have a look below on the page for the Walk-Through video.
If you want to install NICE DCV manually please check out our “How to install DCV” guides on the NI SP support page.
After clicking on the DCV-AMI you want to use you will get to the next page where you just click on “Continue to Subscribe” to the upper right (which tells you you don’t have to subscribe).
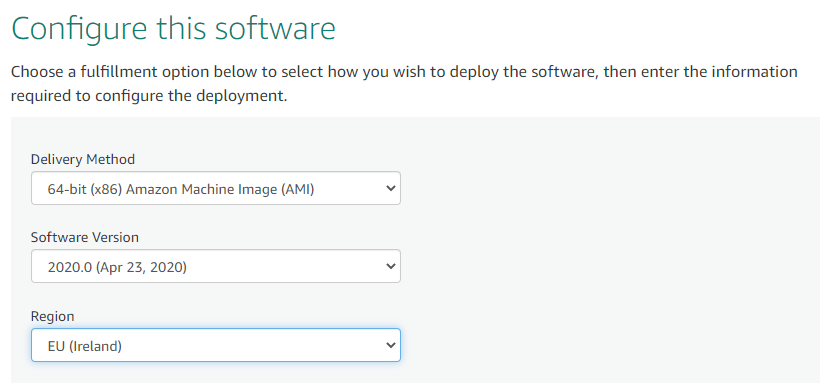
Click on “Continue to Configuration” where you typically want to select the region where you want to launch the AMI. At the time of writing the default is to use a g3s.xlarge instance (in case an AMI with 3D support and GPU is selected) which is equipped with a nVidia GPU with 8 GB, 4 vCPUs and 30.5 GB memory (hourly cost of $0.75 at the time of writing).
As next step click on “Continue to Launch” where you can configure the final settings:
- Choose Action: “Launch from Website”
- Security Group Settings: Use “Create New Based On Seller Settings” in case you want to have port 8443 to open for incoming connection which is the default port to access NICE DCV
- Select your key pair
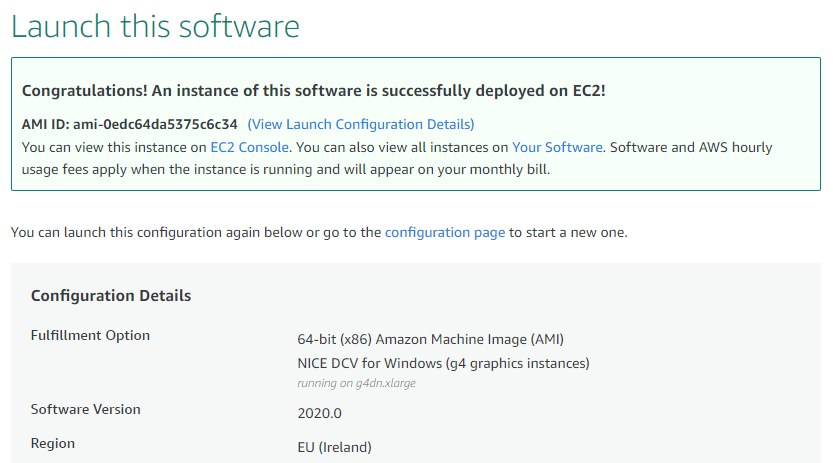
After clicking “Launch” you should see the following message:

Connect to your NICE DCV Session on Linux
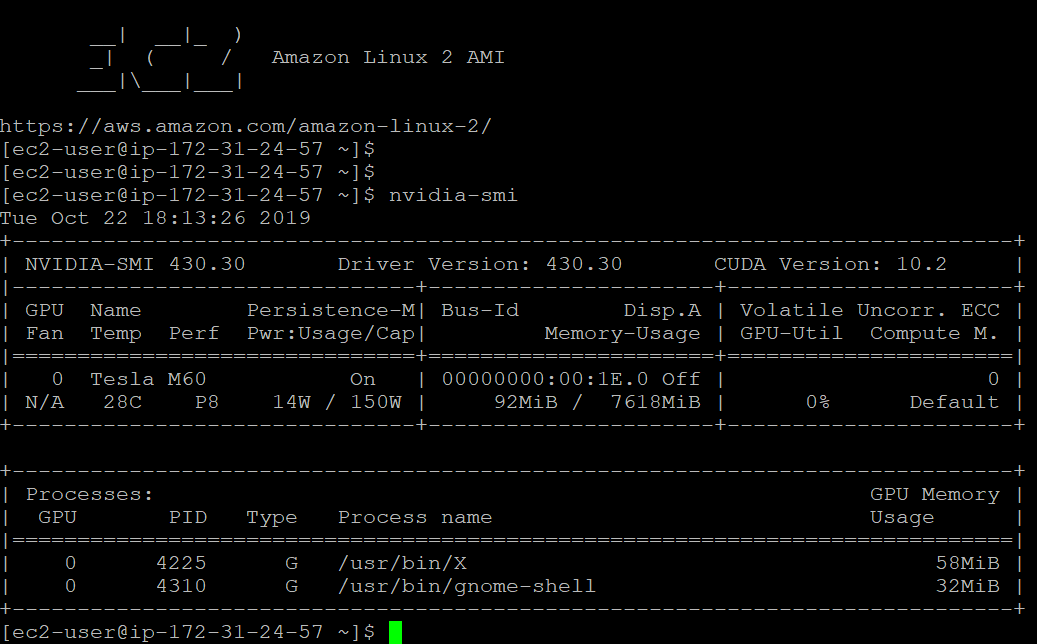
Head over to your AWS console and find the details of your new running instance including public IP address to login. After logging in via ssh you should see (in case of Linux) the following nvidia-smi information which shows that the g3s is equipped with half of an nvidia M60 GPU with 8GB and uses nVidia driver 430.30:
Set the password of the ec2-user with the following command:
sudo passwd ec2-user
and start a new DCV session with
dcv create-session session1
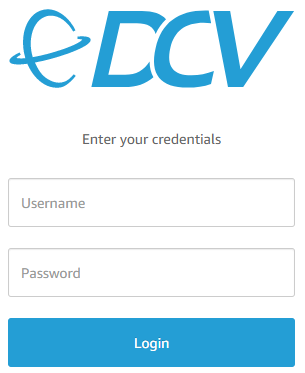
Now let’s try to connect to the instance via DCV. Open the URL https://YOUR_PUBLIC_IP:8443 in your browser, agree to the security exception due to the missing certificate and then you should see the login screen shown to the right where you can login with user ec2-user and the password you have just configured in the shell session.
If everything goes well you should see in case of a Linux session a desktop similar to this:
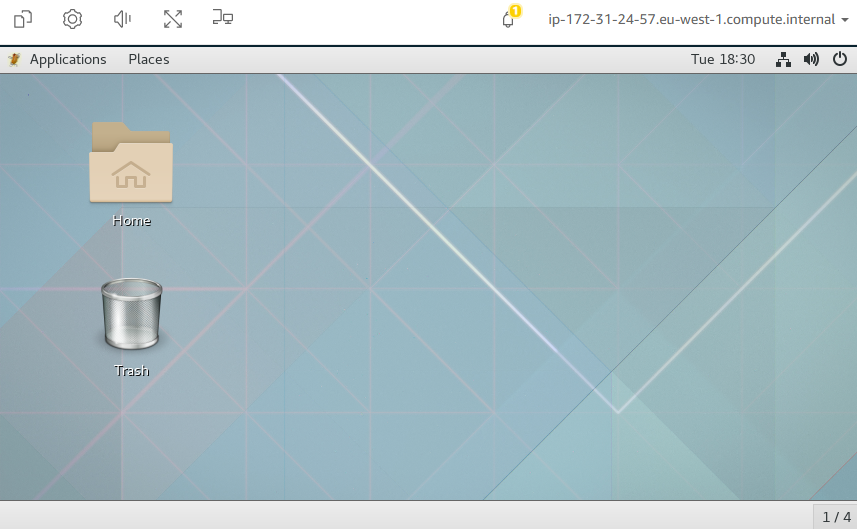
Now you have a full Linux desktop available with powerful 3D GPU support similar to a M6000 card for your 3D applications.
A next step could e.g. be using the (portable) native NICE DCV client for best performance (in the web browser client the H.264 stream is decoded in javascript which is performant but does not reach the same performance of the native client leveraging e.g. SSE or AVX instructions of the CPU).
Tips
- Always make sure that your EC2 inbound rules allow traffic on port 8443.
- You can perform the installation of NICE DCV yourself as well in about 15-30 minutes based on our installation guide for running the NICE DCV server on your EC2 instance or on-premises.
- You can create an AMI from your instance to launch NICE DCV quickly including your specific configurations and applications installed.
Here is our Walk Through Video guiding through the Linux AMI installation and usage process:
DCV on Windows in EC2
In case you want to start with the readily available AMI from AWS which comes with DCV installed you can select the NI SP
- High-End Windows Desktop – NICE DCV for NVIDIA-GPU with GRID drivers AMI
including our AMI usage guide which has QUIC/UDP already enabled for best performance for highly dynamic media workloads (of course you can also connect to DCV with standard TCP performance suitable for many use cases as well) or - High-End Windows Desktop – NICE DCV for AMD-GPU Performance (g4ad) AMI or
- An AMI from the list at NICE DCV AMIs created by NI SP
Select the AMI which supports e.g. a g4 graphics instances in case you want GPU support:
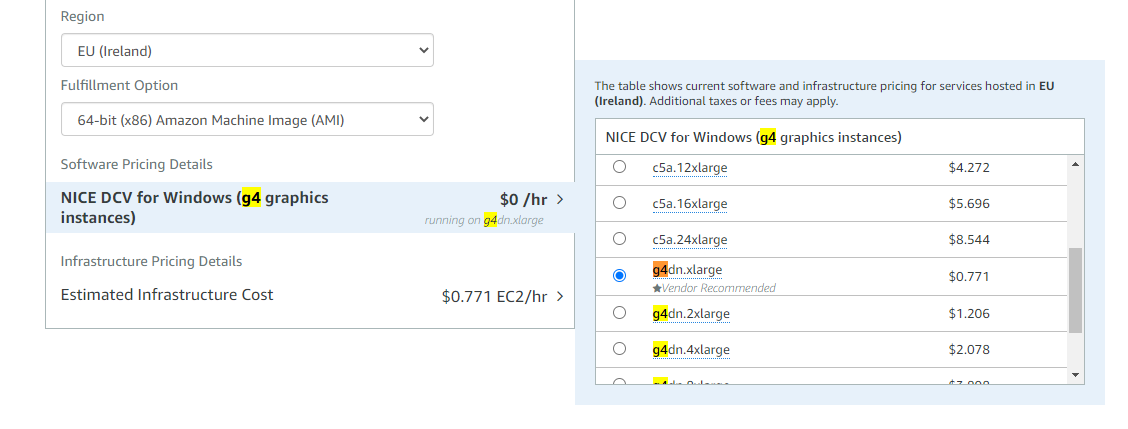
This instance should run well on g5 (partially), g4 or g3 instances.
Then click on “Subscribe” which shows the forecasted instance cost which is in this case only the instance cost itself (DCV is free on AWS). Then “Continue to Configuration”:
Then click “Continue to Launch”. There you keep the defaults like “Launch from Website”.
Then you click “Launch” and will reach this page confirming the launch of the Windows instance with DCV and wait for about 3-4 minutes until Windows has started. Don’t forget to use or adapt a security group which has RDP (in case needed) and DCV (8443) inbound ports open.
Head over to the EC2 Console to find the details for your instance to connect to: the default user is “Administrator” and the password is shown after decryption with your private key.
Connect to your NICE DCV Session on Windows
You can connect with the standard web browser to the instance at https://DNS_NAME_OR_IP:8443/ or install e.g. the portable DCV client from https://download.nice-dcv.com/. There you can find the DCV server as well which comes with a built-in 14 days trial license in case you want to try DCV on a GPU server on-premises.
In case of the DCV client you just enter the DNS name or IP address of your Windows server into the address field which like below:
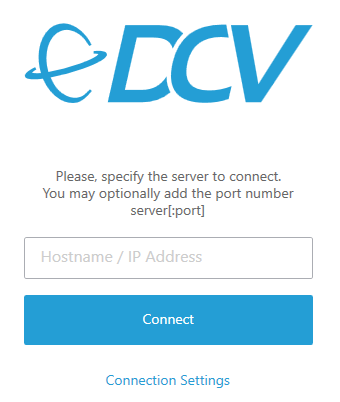
Your Windows instance should show a desktop information similar to this one to the upper right:
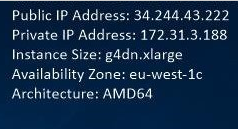
We hope you have experienced as well that starting a DCV Windows server on AWS is a matter of 4-5 minutes.
In case you want to perform the installation yourself instead of using an optimized AMI on EC2 you can follow our guide How to install NICE DCV on Windows.
Any questions just let us know. See also our NI SP Support Guides and Tips and Tricks for further background.


